
American Soy Organics Millennium Soy Wax Beads - Natural Candle Making Supplies - Ready to make your candle-making dreams come true? These paraffin-free, beeswax-free soy wax beads are perfect for crafting container candles, tealights, and wax melts. Say adios to harmful chemicals and hello to a natural, eco-friendly choice. Grab these soy wax beads and create candles that burn clean and bright, just. like your future!

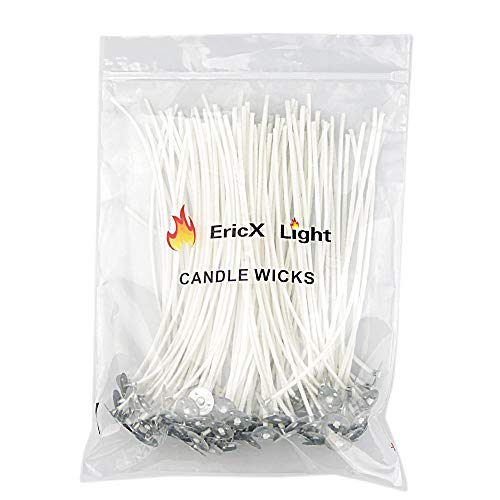
EricX Light Cotton Candle Wick - Pre-Waxed for Candle Making DIY - DIY enthusiasts, this one’s for you! With 100 pre-waxed, 6-inch cotton wicks, you’re all set to create perfect candles every time. These wicks are designed to burn evenly, making your handmade candles look and smell amazing. Get your wick on and light up your creativity!
Essential Oils Set - Top 6 Blends for Diffusers, Home Care, Candle Making: Meet your new aromatherapy BFF! This essential oils set includes six heavenly scents: Peppermint, Tea Tree, Lavender, Eucalyptus, Lemongrass, and Orange. Perfect for diffusers, candle making, or even adding a fresh vibe to your home. Elevate your space and your mood with these must-have oils.

P&J Trading Fragrance Oil Elements Set - Candle Scents for Candle Making: Transform your candle-making game with these unique fragrance oils: Campfire, Night Air, Ocean Breeze, Dirt, Rain, and Fresh Cut Grass. Each scent captures the essence of the great outdoors, bringing a fresh and natural touch to your creations. Add these to your collection and let your candles tell a story!

Candle Wick Stickers - Heat Resistance Double-Sided Stickers for Candle Making: Tired of wobbly wicks? These 160pcs heat-resistant, double-sided stickers will keep your wicks in place, ensuring a smooth and hassle-free candle-making experience. Perfect for all your DIY candle projects, these stickers are a small but mighty tool that every candle maker needs. Stick with these and watch your candles shine!

Perfect Candle Alignment: 20pcs Metal Candle Wick Centering Devices:
Achieve flawless candles every time with these silver stainless steel wick holders. Designed for precise wick centering, they keep your wick steady while pouring. Perfect for candle making enthusiasts who crave perfection. Say goodbye to uneven burns and hello to professional-quality candles!

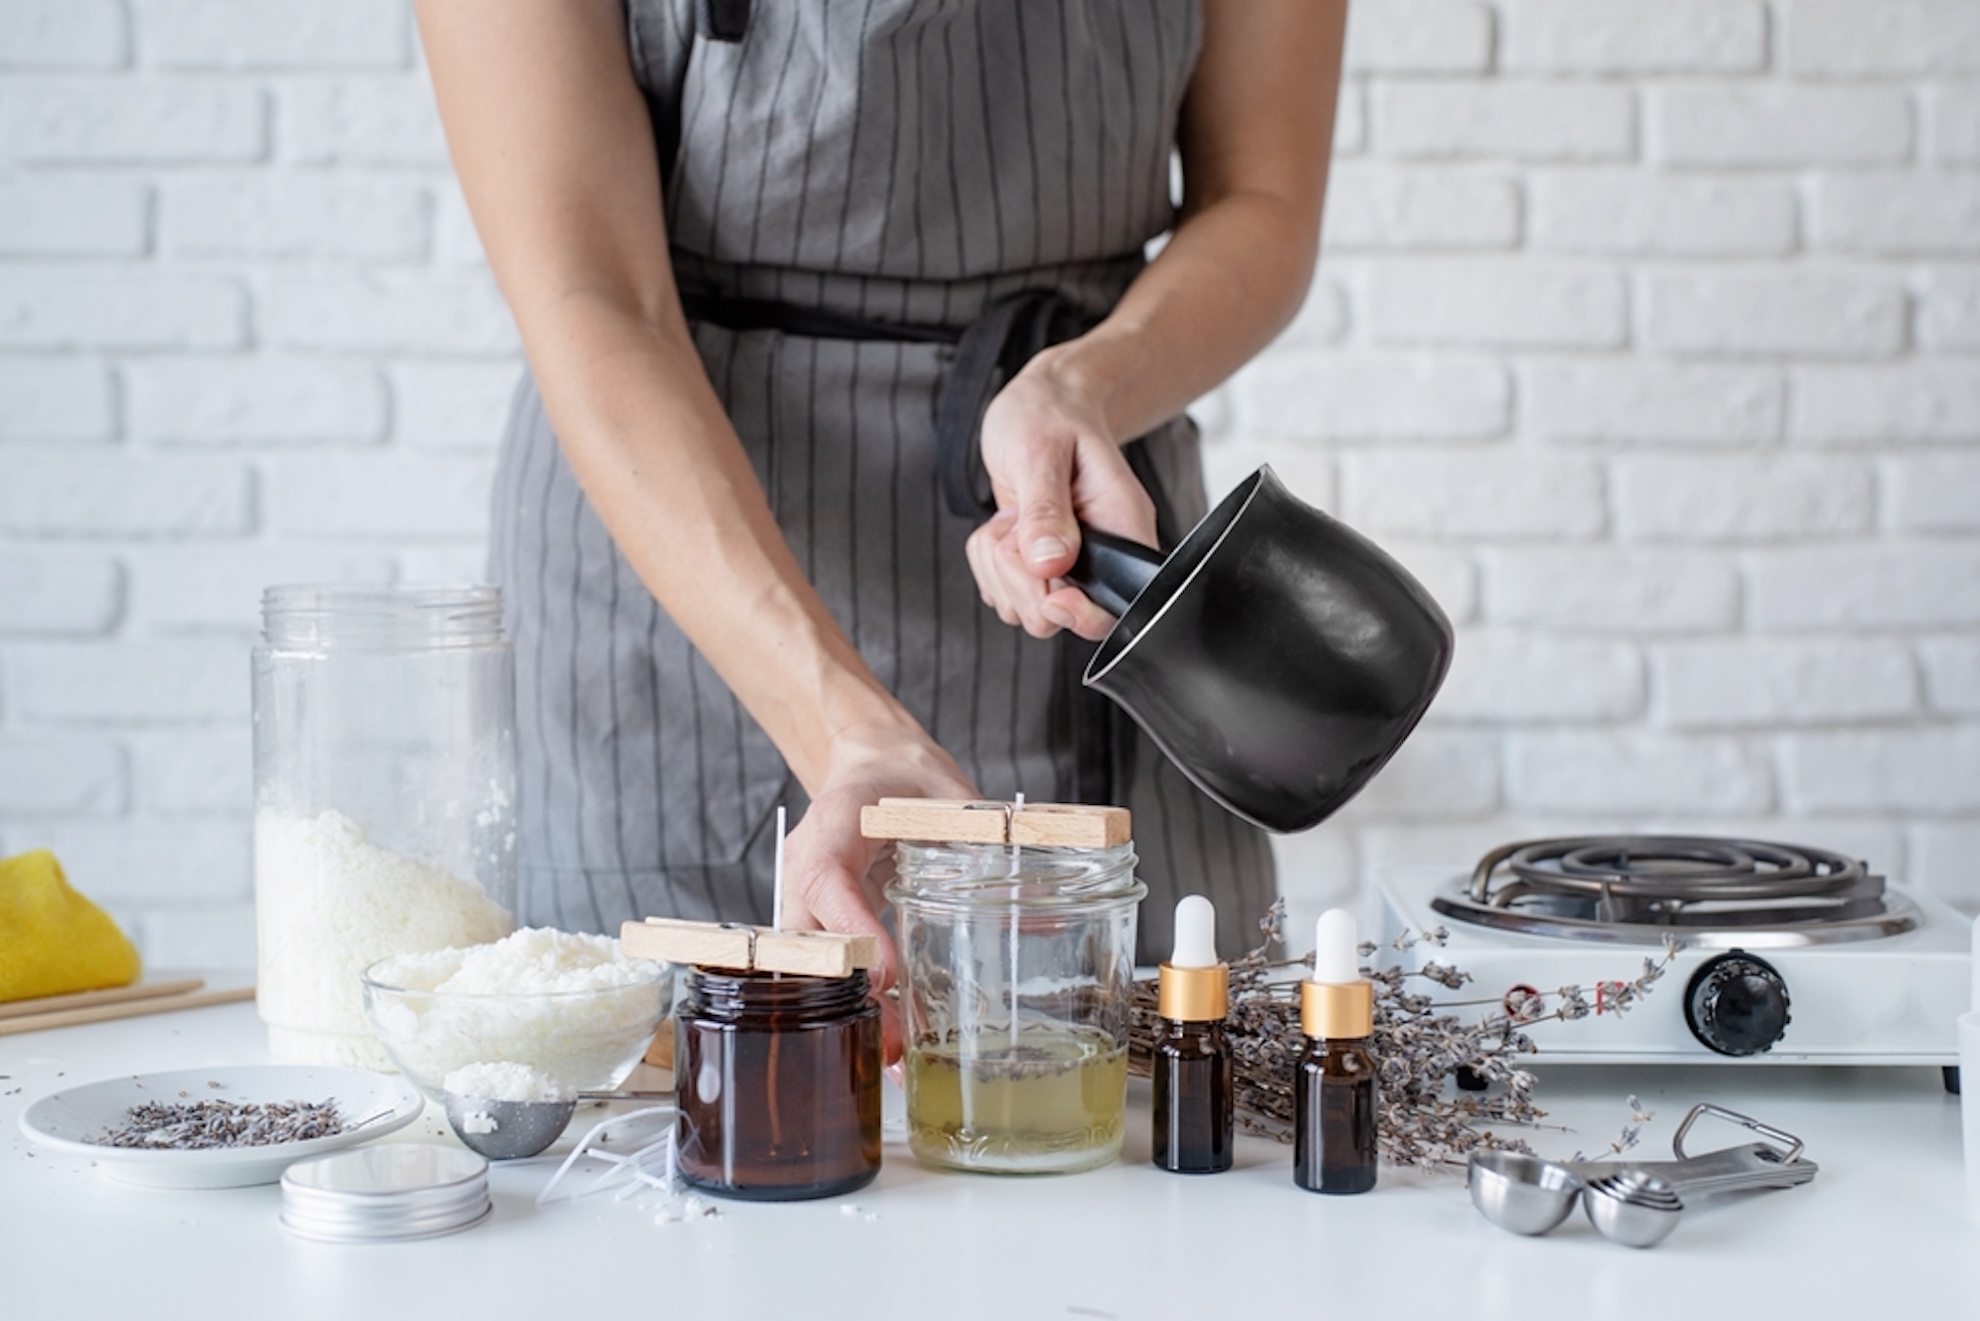
EricX Light Pouring Pot: Dripless & Durable: This 4-pound EricX Light Candle Making Pouring Pot boasts a dripless spout and heat-resisting handle for a mess-free experience. Crafted from durable aluminum, it’s ideal for melting and pouring wax effortlessly. Elevate your candle-making game with this must-have tool for smooth and easy wax handling!

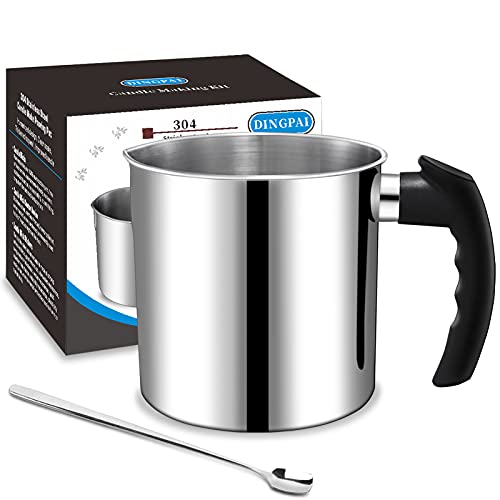
DINGPAI Double Boiler Wax Melting Pot: Precision & Convenience: The DINGPAI 44oz Double Boiler Wax Melting Pot, complete with a heat-resistant handle and dripless spout, ensures precision in every pour. Made from 304 stainless steel, it includes a handy spoon for easy stirring. Perfect for serious candle makers aiming for perfection in every batch!
Marsheepy Double Boiler Pot Set: Versatile Melting Marvel: From chocolate to candles, this Marsheepy Double Boiler Pot Set has you covered. Featuring a 2000ML mixing bowl and a 2800ML stainless steel pot with a silicone spatula, it’s perfect for melting and mixing. Ideal for bakers and crafters, this set promises smooth, even melts every time!

Creative Candle Molds: 6Pcs Silicone Set: Let Loose your creativity with this 6-piece silicone candle mold set. Featuring unique designs like a yarn ball bubble and 3D rose, these molds are perfect for DIY scented candles, soaps, and even desserts. Durable and easy to use, they’re a must-have for every crafting enthusiast!

Chic Glass Candle Jars (15 Pack): Spark creativity with these 7oz clear glass candle jars complete with eco-friendly bamboo lids and handy labels! Ideal for DIY enthusiasts, these jars promise a neat display and easy organization. Dishwasher safe for effortless cleanup, they're a must-have for crafting your own candles or storing bits and bobs stylishly. Light up your space and keep things tidy!

CHEFBEE Candle Wick Trimmer: Snip your way to cleaner, brighter candle burning with the CHEFBEE wick trimmer! This polished stainless steel tool is sleek and efficient, designed to easily reach into candles and cut spent wicks for a cleaner burn and less soot. Perfect for candle lovers looking to enhance their experience and prolong their candle’s life. Keep your flames flawless!

Kitchen Perfection Silicone Candle Making Gloves: Handle the heat with Kitchen Perfection's silicone smoker oven gloves! Extreme heat resistance lets you manage hot food directly on your grill or smoker. Waterproof and safe, these gloves come with three bonuses to make your cooking & candle adventures safer and more enjoyable. Dive into high-temperature tasks without a second thought!

ThermoPro TP-03B Digital Meat Thermometer: Achieve culinary precision with the ThermoPro TP-03B digital meat thermometer! Instantly read temperatures for perfectly cooked meat, candy, or deep-fried delights. Features a handy backlight and magnet for easy storage. Ideal for BBQ enthusiasts and kitchen wizards alike, ensuring every dish is cooked to perfection.
Vibrant Candle Dye Flakes (16 Colors): Unleash vibrant colors in your candle-making with these wax dye flakes for soy wax! Featuring 16 popular colors, these flakes blend easily to achieve beautiful hues and personalized effects in your homemade candles. Perfect for crafters looking to add a pop of color and personality to their creations. Make your candles stand out!